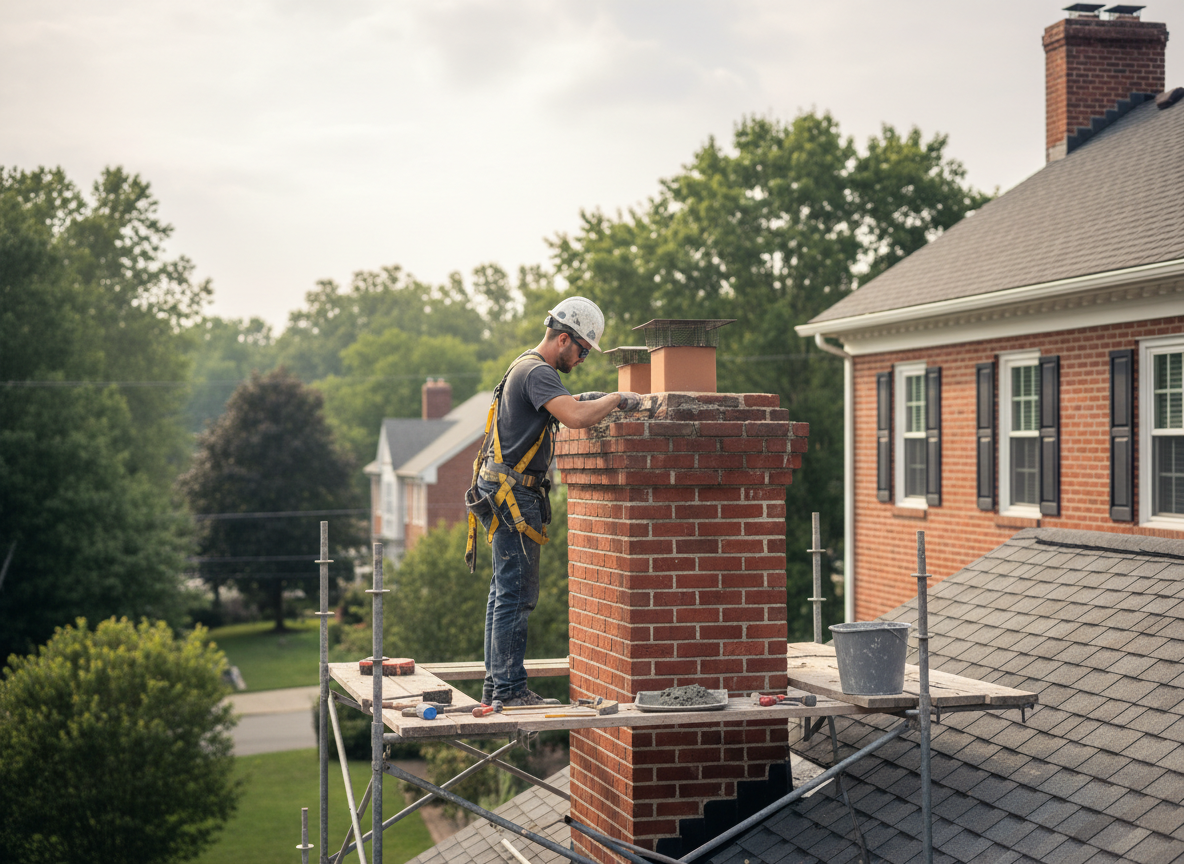
Chimney mortar in Clinton homes faces constant stress from Davis County's semi-arid climate. Hot summers dry out joints while winter snow followed by freeze-thaw cycles forces water into cracks and expands it, pushing bricks loose. This is especially common in Clinton Central and West Clinton neighborhoods where many homes have brick chimneys built before modern flashing standards. Using the wrong mortar type during repairs often leads to faster failure because it cannot handle the thermal movement local conditions create.
Repointing requires removing deteriorated mortar to the correct depth without damaging surrounding brick, then packing fresh Type N mortar that matches the original in color and strength. In areas near Clinton City Park or along routes to Roy and Clearfield, wind-driven snow can pack into crown cracks and accelerate water entry. Technicians must also inspect for missing cap flashing or improper crown slope, both frequent issues that turn minor mortar cracks into full chimney leaks during spring thaw.
Homeowners sometimes attempt DIY tuck-pointing with pre-mixed caulk or the wrong sand-to-cement ratio, which traps moisture and causes spalling the following winter. Proper repair includes cleaning the flue area, installing backer rod where needed, and tooling joints to shed water. Access on single-story homes in West Clinton is usually straightforward, but two-story structures near Ogden Road require scaffolding and add time for safe setup and teardown.
Technician insight
In Clinton, the thing that catches most people out with Chimney Mortar Repair is how quickly freeze-thaw cycles in West Clinton and Clinton Central loosen joints after just one heavy snow year. Homeowners often notice only the inside stain and miss that the crown slope is directing meltwater straight into the mortar. Using standard premix instead of site-mixed Type N that matches the original sand color leads to visible patches that crack again the next winter.
West Clinton Brick Chimney Repoint
Water stains appeared on the second-floor ceiling after spring thaw. Inspection showed eroded mortar on the north face where wind-driven snow from Davis County storms had packed against the crown. Crew removed failing joints, packed fresh Type N mortar, and tooled new concave profiles. No further staining occurred the following winter.
How it works
- 1
Initial Inspection
Examine all four sides of the chimney, crown, and flashing for loose or missing mortar, water staining, and brick movement.
- 2
Mortar Removal
Grind or chisel out failed joints to a uniform depth, taking care not to damage brick edges common in older Davis County construction.
- 3
Joint Packing and Tooling
Pack fresh Type N mortar in layers, then tool concave joints that shed water away from the chimney structure.
- 4
Final Cure and Check
Allow proper curing time, then verify no new cracks appear after the first temperature swing.
Pricing
Cost depends on chimney height, extent of joint damage, and whether scaffolding is required for two-story homes.